Migrating Spaces from Server to Cloud
You can export selected Confluence spaces from your server instance and prepare them for migration to the cloud using the built-in migration utility.
-
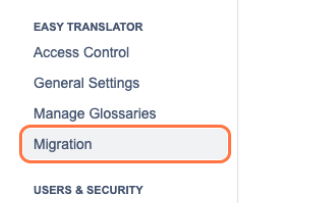
Navigate to Migration Settings
Go to Confluence Settings and click on Migration under the Easy Translator section.
Accessing Easy Translator for Confluence Migration Settings | Image
-
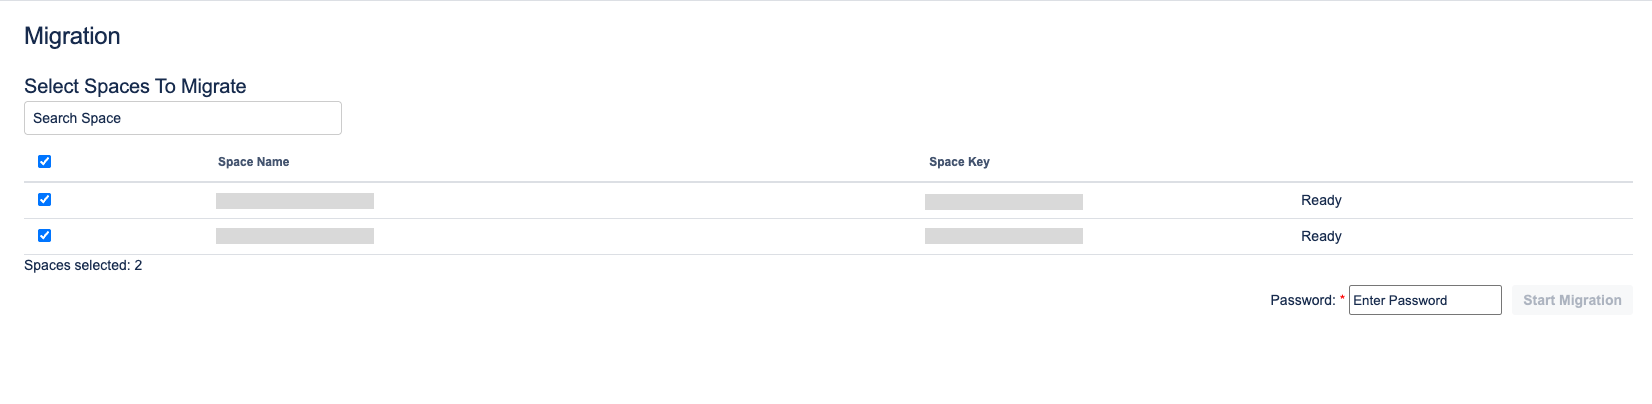
Select Spaces to Migrate
A list of available spaces will be displayed.-
Use the checkboxes to select the spaces you wish to migrate.
-
The table shows the space name, space key, and current migration status.
-
Space Selection | Image
-
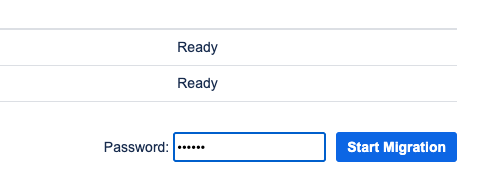
Enter Migration Password
In the password field at the bottom right, enter your administrator password to encrypt the export.
Enter password for encryption | Image
-
Start the Migration Process
Click the Start Migration button.-
A file named
ect-migration.encwill be generated and downloaded to your system. -
This file contains the encrypted export data of the selected spaces.
-
Next Steps: Importing to Cloud
To complete the migration go to our ECT Cloud documentation to import
Make sure that the original space and pages already exist in your cloud instance. This migration process does not create new spaces or pages it only adds translations to pages that are already present.