Before you can use a custom CSS class for your dropdowns you have to define them first.
You have to be the administrator of your confluence instance or a space admin to create your own CSS class.
You need to now the basics of CSS.
Create your CSS Class
-
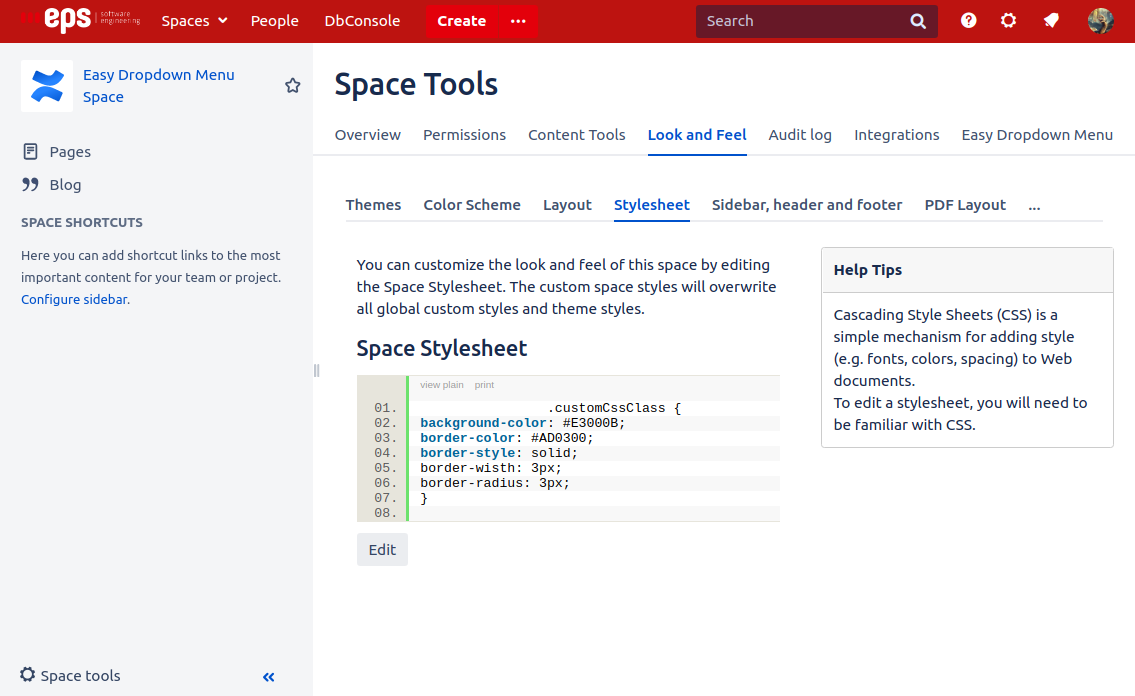
Think about if this new CSS class will be used in one or multiple spaces. If you decide that it will only be used in one space, then go to the Space Tools of the according space an navigate to Look and Feel and then Stylesheet. Here can you edit the stylesheet for the space. If you decide that it might be used in multiple spaces, then go to the Confluence Administration and navigate to Stylesheet in the Look and Feel section. Here can you edit the global stylesheet.
-
Click on the Edit button to modify the stylesheet. Now you can create your own CSS class. After defining your CSS class press the Save button to save your changes.
It could look like this:
Add your CSS Class in the Configurations
-
Go to the space or global EDM configurations depending on whether the CSS class should be available only in one or multiple spaces.
-
In the CSS section of the configuration, enter the name of your CSS class and press the Add button.
Don’t forget to save the changes with the Save button at the bottom.
Use your CSS Class
-
Insert a new macro or find one on a page where your CSS class should be available.
-
Select your CSS class in the Style Class dropdown in the macro settings and save them.
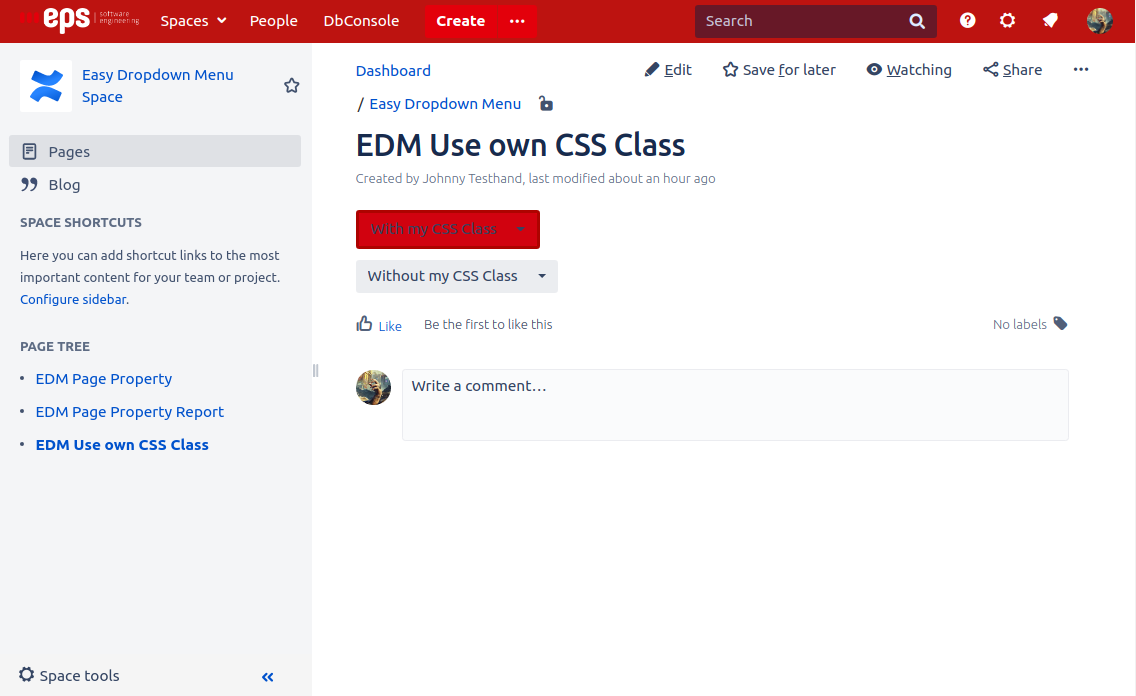
Result


